Mounting and care of your spray gun
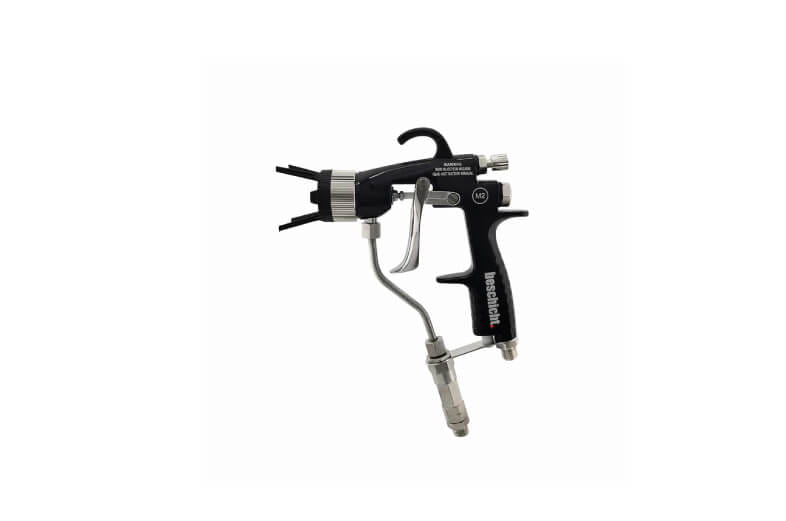
To ensure that your spray gun performs optimally and has a long service life, it is essential that it is assembled and maintained correctly. In this article, we will show you step by step how to assemble your spray gun correctly and what maintenance measures are required.
Step-by-step assembly instructions
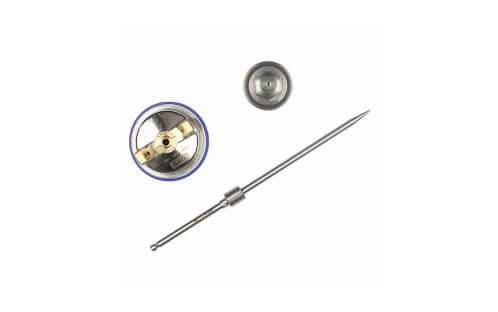
- Installing the paint nozzle: Carefully insert the paint nozzle and tighten it hand-tight with a tool wrench. Be careful not to overtighten.
- Installing the air cap: Attach the aircap. Make sure that the labelling on the cap is legible.
- Installing the paint needle: Lightly grease the area around the needle seal. Carefully insert the paint needle.
- Inserting the paint needle spring: Lightly grease the paint needle spring and insert it into the gun.
- Installing the fluid needle: Grease the thread of the fluid needle and install it.
Maintenance and care of your spray gun
Regular care is essential to ensure the functionality and precision of your spray gun. Please note the following points:
- Greasing the air piston rod: Apply a thin layer of grease to the visible area of the air piston rod.
- Clean all visible surfaces of the gun after each use to remove residue.
- Regularly inspect all moving parts and seals to detect wear at an early stage.
Frequently Asked Questions
Question: Why is greasing the paint needle important?
Answer: Lubricating the paint needle reduces friction and prevents premature wear, thereby extending the service life of the gun.
Question: How often should the spray gun be serviced?
Answer: After each use, the gun should be cleaned and regularly maintained. Extensive maintenance depends on the frequency of use and the conditions of use.
With the right assembly and care, your spray gun will remain functional and precise over the long term. Protect your investment with careful handling and regular maintenance.

